2 what plant where tips for an amazing garden
My 2 what plant where tips for an amazing garden. All gardens have shaded area’s and full sun areas. Knowing which areas are full sun, partial shade or full shade is one of the first things you can do to understand how best to plant it.
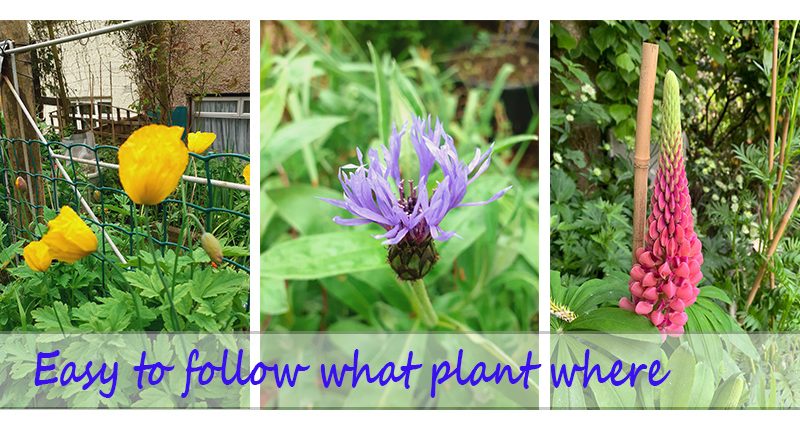
Easy to follow light map knowing what plant where.
What plant where formula begins with knowing what each garden bed in my garden is like. How much sunlight does it get during the day? To do this I draw up a simple light map.
- Draw a rough outline of your property. Include the house and all sheds, fences and patio’s, along with tall trees etc.
- Mark the North, South, East and West onto your paper. Use google maps to see what direction your house faces if you don’t know.
- We know the sun rises in the East and sets in the West. So looking at your map that is going to be how your garden will get it’s sunshine.
Plotting the sunshine on your light map – know what plant where.
- I started at 7:00 o clock in the morning on a early March day which had a bit of sunshine.
- The early morning sun shone over my 6 ft fence but did not hit anywhere in my garden as it was way too low.
- At 8:00I walked around the garden and noted the areas with sunshine. I used coloured crayon’s the mark it on my light map. Some area’s overlapped getting more than one colour.
- I repeated this until the sun went down.
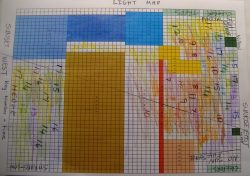
Looking at the light map and deciding what plants should be planted where, was relatively easy. My full sun area’s did not get sun for the full day, they got mid-morning to mid-day and then a lot of evening sunshine. Most of my shaded areas were partial shade for the greater part of the day.
What I did with problem full shade area’s
I set about trying to see what I could do for the very shaded area’s that got very little sunshine at all. There is an area which is close to my fence which does not get much sun. I looked at what I had around the area and found I had a jasmine climber which in winter was a pile of sticks but in Summer was full of leaves and lovely flowers. Due to its position on the fence, it got lots of light and grew well. Below it the dark shade prevented anything from growing.
My solution to get extra light
I needed to get some extra light into that area without cutting my climbing Jasmine down.
- I looked at putting a mirror into the garden to reflect the light into the shaded corner. This was easier said than done. The mirror was large and clumsy and it worked to a point but seem to reflect a beam rather that scatter light.
- Having some very white boards lying around I tried to put them up and used them to reflect the light. This worked well until my plants in front, grew so that they interfered with the light and my area when dull once again.
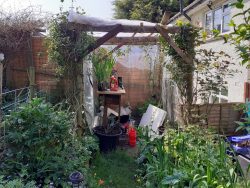
- Next to this shaded area I have an open pagoda. I decided to cover it with plastic sheeting to create a temporary green house for over wintering plants. I was wonderfully surprised to find that the sun reflected off the clear plastic and being a tall structure, it gave a bit of light to a dark corner. I was happiest with this and so left it up for the whole time.
Moving forward with planning the areas – what plant where.
Even a small garden is daunting if you try do the whole garden at once. I wanted flowers in the garden all year round. The flowers should have different shape flower heads and colours to make it interesting. I also wanted to be able to pick them for vases. I did a bit of reading to find the flowers I liked and the colours I preferred. I discovered it would be better to know how wet my garden got as well as where the light is. I do have a rain gauge in my garden so it is useful to see how wet the rain actually was.
Know what plant where – detecting how much water I have in my garden.
Setting out to discover how much water my garden held so I know what plant where will help choose the best plant for that area. In simple terms, all you need is a stick and the map you used for the light study.
- Choose your measuring days according to the weather. You want a rainy spell followed by dryer and dry.
- Measurements need to be taken on 3 different days. This will indicate how well the planting area drains.A
- After a rainy spell, go outside and push the stick into the ground at various places you intend planting. If the stick goes down a very long way, the ground is very wet, if it only goes down a short way the ground is well draining. I marked my finding in simple terms vw=very wet mw = medium wet d= draining
- I repeated this over 3 days of various weather, putting the stick into the ground at more or less the same places. Once you know where the continuous wet spots are you can plant shrubs which drink a lot of water like willow and dogwood. Smaller plants of plants in tubs can be placed in this area in front of the shrubs.
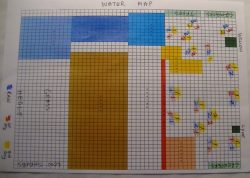
This is a map of my garden which I made to help decide what plants will do well in a specific spot.
