Unique Foam Cushion Covers for Dinning Chairs
Making cushion covers is something which we as sewist only do when we need to. Having purchased a set of d shaped foam inner cushions, I had to embark on making cushion covers which not only fitted, but has zips in so I could remove them for washing. I have made cushion covers like this in the past for my leather lounge suite. Sitting on the original leather was very cold in the winter, so I made fabric covers, minus the ties. If you have some foam insides or any other cushion, follow this blog and make a nice cover with a zipper to remove the cushion cover to wash it.
We have a lovely oak table with chairs, however the chairs are just plain wood with no seat padding. I decided to make cushions for the chairs so sitting on them for a long time does not give you a numb bottom. Purchasing high density foam pads for the seats is easy and the prices are reasonable. I purchased mine from a fabric shop called Abakhan. They have a big store in North Wales and a few smaller store dotted about the country. They do have online shopping.
What you need to start making a pattern for the cushion covers.
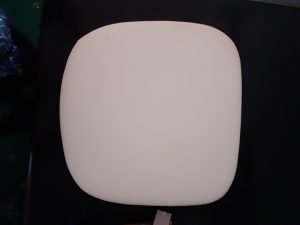
My foam pads were a “D” shape and fit nicely onto the chair. I made a note of where the back edge would be as that is where I wanted to place my zip. Now, before I go further a word of caution. I made 1 pattern for all my cushion covers as I had bought the same size and shape for all. However, I found out while making them that every one was unique in a different way. Therefore, be prepared to adjust things here and there as you go.
- I chose a hard waring furnishing fabric for my covers.
- I used 25cm zippers to create the opening for removing and adding the foam pad.
- Use any paper that is big enough to cut a pattern for the foam pad.
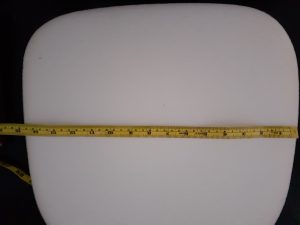
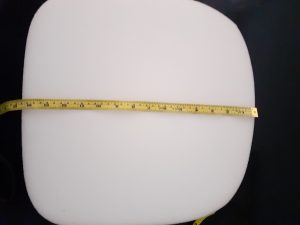
- Tape measure to measure across both horizontal middle and vertical middle.
Making the actual pattern for the cushion covers.
- Place the foam pad onto the paper.
- Draw around the pad to get the shape correct.
- Add 1cm on all the way around as the sewing allowance.
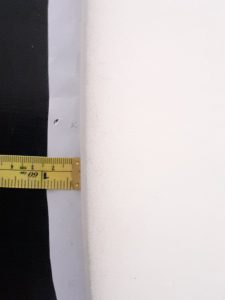
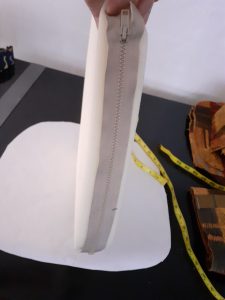
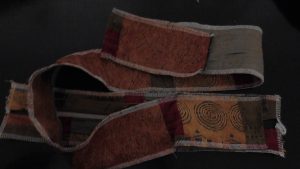
- Next use the measurement of the thickness of the pad and the diameter (measure all the way around the outside) to cut a strip of fabric. This will be for the depth of your pad. Remember to add seam allowance to both sides. This strip ties the top section to the bottom section and has the zip in it.
- Using the pad as a guide, lay you zip onto it to ensure it fits and is long enough.
- Finnish all the edges if the fabric frays a lot.
How to insert the zip into the strip that goes around the side.
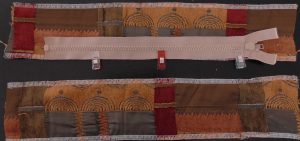
- I usually cut a piece of the fabric from my long strip off to put my zip in. Cut it in half through length wise, finish the edges off.
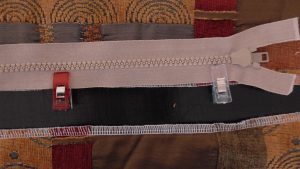
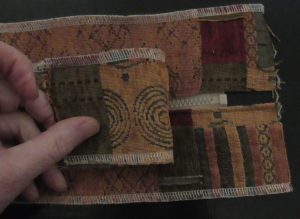
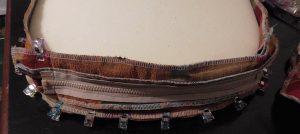
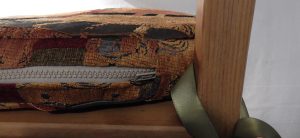
- Lay your zip face down on the dege with the zipper lying on the fabric, pin or clip in place. (See pic 1st line of pics above)
- Use a zipper foot on your sewing machine and sew down the side closest to the edge.
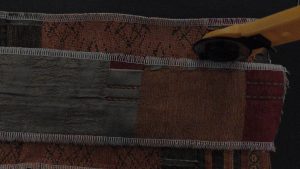
- Flip the fabric over, flatten it out and top stitch it down so it all lies nice and flat and the zip is nice and clear from any potential fabric jams.
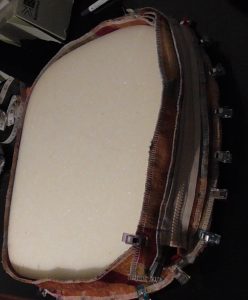
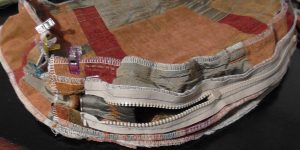
- Take the remaining piece of fabric and lie it face down on top of the free side of the zip. (see line 2 pics) repeat the sewing process. Sew down, flip and top stitch.
- Your zip is now in and you are ready to move to the next step.
- The zippered fabric is now wider than the strip that is going to be going around the cushion covers.
- Lie the end of the strip already cut on top of the zippered section. Make sure the zip is centered and cut along both edges to get it the same width as the long fabric strip. Finish the edges if you need to.
Making the piece that will be the height or joining strap of your cushion club.
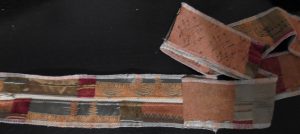
- Attach the one end of the long fabric strip over the end of the zip end, not the the top where the zip stops when closed.
- Place the strip face down over the lower end of the zipper piece and sew two rows of straight stitching taking care not to hit the zip itself. If you take it slow you can actually sew through the zip.
- When you now look at the strip you should have one long piece with the zip on one side.
How to attach the strip to the base piece of your cushion cover.
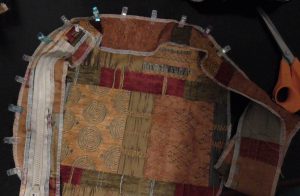
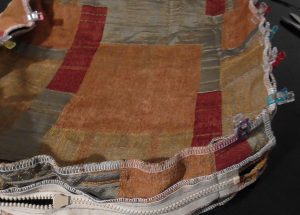
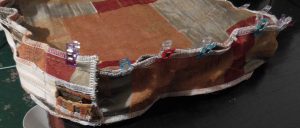
- Place the zip part of the strip on the back section of your base. I use clips rather than pins as it is very difficult to pin through all the layers of furnishing fabrics.
- Leave the top bit of the zip edge strip free. This bit has to go behind the clear end of the long strip. this will conceal the zipper end. Clip one edge of the strip all the way around the cushion.
- When you get all the way around and you have a bit left over , fold the edge over (if it is too long to fold, trim a bit) and clip it in front of the zip top. The folded over edge makes a nice finish over the zipper edge.
- Clip the top zip section over the folded area. Make sure the strip fits nicely all the way around and does not pull on any corners. Sew with your 1cm seam allowance all the way around reversing and the forward stitching over any part that is a join, like the overlap bit.
TOP TIP: Some domestic sewing machines struggle to sew through four layers of furnishing fabric. You can use a slightly longer stitch to help your machine sew through the layers, also go slower and maybe help it if you need to. Sew around the seam again if you need to.
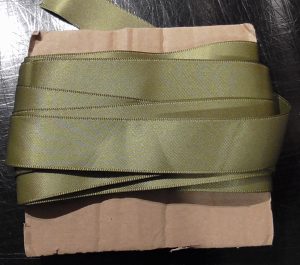
- Before you sew the top section to the strip, measure where you need to sew your ribbons which will hold the cushion to the chair. Sew them onto the strip at this point. They will just sit inside of the cushion cover while you attach the top section.
Sewing the top section of the cushion cover.
- Open the zipper a little bit. Align the top section to match the placing of the zipper position on the bottom section.
- Use clips to clip it together as you did the bottom section. Take care to not catch your ribbons in the seam. Sew together in the same way you sewed the bottom.
- Re in force by sewing seams twice if you need to. Remember to snip all the threads off.
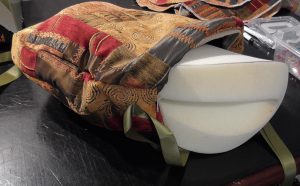
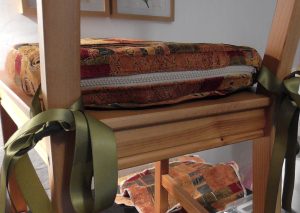
- Fold the foam insert and squeeze it into the cover and open it to be flat. Close the zip and tie it to your chair.
You have now complete your cushion cover, hope you enjoy sitting on it.
Browse All Sewing Posts


