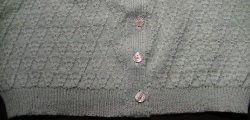
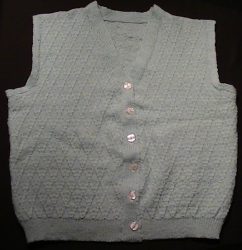
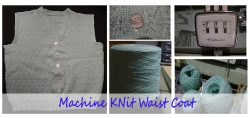
Wonderful Machine Knit Waist Coat
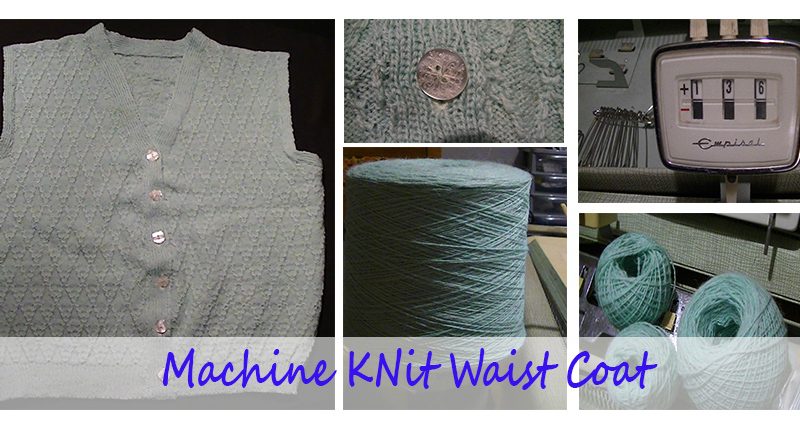
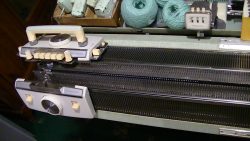
I made a machine knit waist coat on my standard gauge PB8 knitting machine. I am amazed at how quick it is to knit on a machine. But, I dropped a few stitches on my first attempt and had to start again. it is hard to pick up stitches when you are knitting a pattern. You can use the link for patterns to download at the end of this blog to find something the is easy to follow if you can’t draw up your own.
How I made the pattern.
I wanted a machine knit waist coat with a button band for myself. I measured one of my fleece jackets for width, length to under arms and length to the top of the shoulder.
Making a sample on your machine.
- A sample needs to be big enough to count approx 10cm for the stitches and 10 cm for the rows.
- Use the same wool, the same tension, the same pattern setting you will be using on your knitting machine to knit the item you are planning.
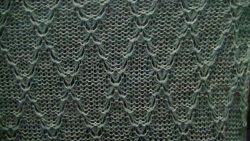
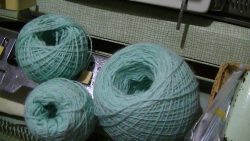
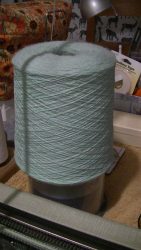
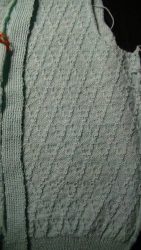
My sample was knitted with 2 ply wool. I used a pattern from my knitting machine book for the push button 8 knitting machine. For the tension I used the recommended tension of 6. I knitted 30 rows over 20 sts, I left the piece for the night and counted my rows and stitches the next day.
Working out how many rows and sts you need for your machine knit waist coat.
- I use the metric system and so measured my counting in cm. For 10 cm I counted 32sts, for 10 cm of rows I counted 40 rows.
TOP TIP: If you change the tension the count will be different. Changing the pattern used, means the count could be different. Use a different yarn and you will need to count again. So, make a sample before you make a garment and you will always have the correct sizing.
Making up my machine knitting pattern.
BACK Panel
- My measurements were as follows: I am an XL in size. My BACK measurement – 60.5cm across, I have a sway back as my shoulders are slightly rounded. I therefore knitted my back a bit tighter so it would not bulge out above my bottom. I took 7.5cm off my across measurement to correct this problem. If you do not have a sway back then use all the width.
- Between the back armline to arm line across your wings – 46.5 cm
- Shoulder width – 13 cm
- Waist or where you want the item to start to the armhole – 44.5cm I wanted a 5cm rib.
- Armhole to start of shoulder and neck shaping, – 23cm
- Shoulder and neck shaping – 2cm
FRONT Panel
- My measurements were as follows: I am an XL in size. This is a waist coat with a button band and two front panels. Half FRONT measurement – 30cm across.
- All other measurements were the same as the back. The only difference is the neck line for the front is a V neck and is in total 25cm in length.
[rl_gallery id=”2669″]
Working out my pattern into rows and stitches.
- I used the amount of stitches for 10 cm to find out how many stitches to cast on. My BACK measured 60.5 cm. To work out the stitches I divided 60.5 by 10 ( that is my cm measure length.) So I had 6.05 and then I times it by how many stitches I had counted for 10cm. 6.05 X 32 stitches and rounded up to 194 stitches. I did a sway back correction by selecting 54 cm and so cast on 170 sts. 53 divided by 10 X 32 stitches. I kept the front measurements as I had measured them.
- From the beginning of the garment to under the arms was 44.5cm, this included the length of the rib. 44.5 divided by 10cm time by the 40 rows. This gave me 178 rows.
- The above is an example of how to work out your pattern. When it comes to the armholes, to work out how many stitches you need to decrease use the main measurement and take the top between the arms measurement away from it. Convert to stitches and thats how many you need to decrease over the left and right sides. 53cm – 46.5cm = 7cm divide by 10 and x by 32 stitches = 22 stitches so decrease 11 sts either side over approx 10 rows.
TOP TIP: Roll a small ball of the yarn off before you start. You will need to use it when you do the shoulder and neck shaping.
Machine knit waist coat back and front.
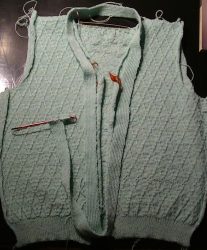
I ribbed 22 rows as I liked that length for both the back and the two fronts. I reset my row counter and worked in pattern to the armhole decrease. I made a point not to pattern the 3 outside stitches. This was where I dropped stitches on my first effort. I could not pick them up and follow the pattern so I started over. I continued in the pattern until the very end. Just follow the instructions you write out when you make the pattern.
How to finish off the armholes on a machine knit waist coat.
I have in the past picked up stitches around the armhol and knitted the rib. I don’t much like picking stitches up. I dec
For the front band which goes around both front panels and the neck. I cast on 16sts and ribbed 550 rows. I once again placed the stitches onto a holder to alter the length once I measured it. I did not put any button holes into the band. I like to sew my button holes with my sewing machine. I made sure the rib fitted all the way around and just like the armholes I pulled the extra rows out and sewed the rib onto the waist coat.
How to sew the button holes in the rib with a sewing machine.
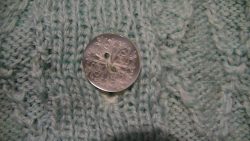
I measured the spacing for the button holes and marked out on the band where to place them. I then put a piece of tracing paper underneath and on top of the band. I then sewed the buttonholes and pulled the paper away. I attached the buttons to finish the band off.
Link for downloading magazines which may help you with a pattern or two.
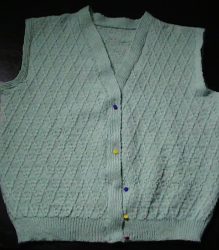
My wonderful machine knit waist coat is now complete!!

